
The process of auger bit replacement teeth can vary depending on the specific type and design of the auger bit. However, the following general steps can be followed to replace the teeth on most types of auger bits:
Remove the old teeth:
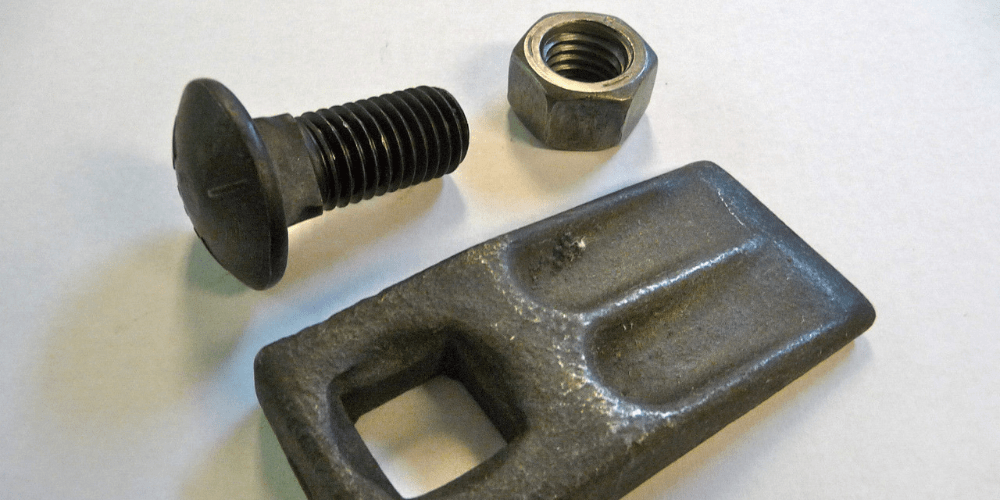
Use a wrench to loosen and remove the nuts or bolts that are holding the old teeth in place. Once the nuts/bolts are removed, the old teeth can be removed from the auger bit.
Clean the auger bit:
Use a wire brush or sandpaper to clean the area where the old teeth were removed. Make sure that there is no dirt or debris left on the auger bit that can interfere with the installation of the new teeth.
Insert the new teeth:
Place the new teeth into the holes where the old teeth were removed. Make sure that the teeth are securely in place and aligned with the other teeth on the auger bit.
Tighten the nuts/bolts:
Use a wrench to tighten the nuts or bolts that hold the new teeth in place. Make sure that the teeth are tight enough to prevent them from coming loose during use, but not so tight that they damage the auger bit.
Test the auger bit:
Once the new teeth are installed, test the auger bit to make sure that it is working properly. Run the auger bit in a safe and controlled environment to ensure that the teeth are cutting smoothly and evenly.
It is important to follow the manufacturer's instructions and safety guidelines when replacing the teeth on an auger bit. If you are not comfortable or experienced with replacing the teeth, it may be best to seek assistance from a professional.
Why is it important to identify the size of auger bit?
Firstly, identifying the size of an auger bit is crucial to ensure compatibility with your equipment and to drill the desired hole size. Auger bits come in different sizes and diameters, and selecting the right size is essential to avoid damage to the equipment, inefficient drilling, or obtaining a hole that is too small or too large. It is important to check the manufacturer's specifications or markings on the auger bit to determine its size, and choose the appropriate size of bit for the intended drilling application.
How to identify the size of auger bit?
You will need to measure the diameter of the bit itself to determine the size of an auger bit. Here are the steps to follow:
Step-by-step guideline:
- Look for any markings on the auger bit that indicate its size. Some auger bits will have the size marked directly on the bit.
- Measure the diameter of the auger bit with a tape measure or caliper. Place the tape measure or caliper at the widest point of the bit, and measure the distance across.
- If the auger bit has a hex shank, measure the distance between opposite flats of the shank to determine the shank size.
- If you are unsure of the size of the auger bit, consult the manufacturer's specifications or contact the manufacturer directly for assistance.
It is important to choose the correct size of auger bit for your drilling application to ensure that it is compatible with your equipment and can efficiently and effectively drill the desired hole size